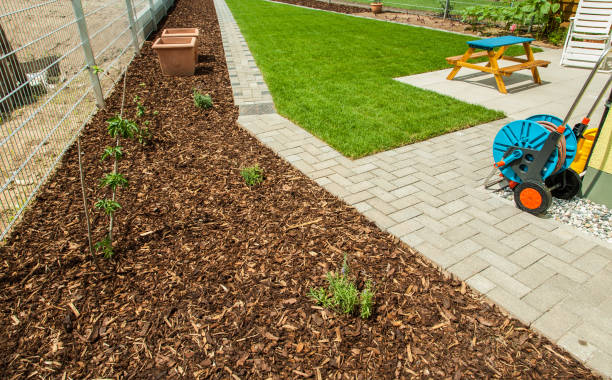
From the street, mulch installation looks like the simplest job in landscaping: mulch arrives, mulch gets spread, beds look great. Which is why so many homeowners are surprised when their DIY version — same mulch, same beds — somehow doesn't look like the professional result down the block, and doesn't perform like it either: weeds punching through by June, mulch washing into the lawn, plants declining at their smothered bases.
The difference isn't the mulch. It's everything that happens around spreading it. Here's what a professional spring mulch installation actually looks like, step by step, from the first walkthrough to the final blow-off — and why each step exists.
Before anything arrives, the beds get measured and assessed: total square footage (which sets the material volume — roughly one cubic yard per hundred square feet at 3-inch depth), the state of the existing mulch (thin and decomposed, or built up too thick from years of top-dressing?), the weed situation, and the edge condition. This is also where the color and material decision lands — the choice that sets the look for the year.
The math step is quietly where DIY projects go sideways: underestimating volume (the two-trips-to-the-store install that ends an inch thin — below weed-blocking depth) or overestimating (the four-inch smother). Professionals order to the measurement.
Here's the professional secret in one sentence: mulch is only as good as what's under it. Prep is most of the labor and most of the difference:
Before mulch, the frame: bed edges get re-cut — a clean trenched line where turf meets bed, sharp and continuous. The edge does double duty: it's the visual frame that makes the finished installation look crisp (mulch feathering vaguely into lawn is the signature of a skipped edge), and it's the containment that keeps mulch in the bed through rain and blower passes — plus the first defensive line against lawn-grass runners invading the fresh bed.
Now the spreading — with three rules running the whole operation:
The install isn't done at the last wheelbarrow: stray mulch comes off the lawn (where it would smother turf in clumps), every hard surface gets blown clean, and the edges get final dressing. The twenty-minute finish is the difference between "we spread mulch" and the crisp, framed, professionally-installed look the whole project was for.
Walk the finished beds and the payoffs are already working: the weed defense stack (pre-emergent under light-blocking depth over cleaned soil) suppressing the spring germination flush before it starts; the moisture lid in place before summer heat begins pulling water out of bare soil; root insulation ahead of the temperature swings; trunks and stems breathing behind their clearance; and the instant visual reset — dark fresh mulch against green turf and crisp edges — that reads from the street like the whole property got upgraded.
And one honest maintenance note: mulch is a consumable. It decomposes into your soil all season (that's a feature — it's feeding the beds), settling toward thin by next spring. The annual spring refresh isn't a sales cycle; it's how the depth that does all the work stays at the depth that does all the work.

Skip the trips, the math, and the sore weekend. Kangaroo Outdoor Solutions provides complete spring mulch installation — beds prepped and treated, edges cut, quality mulch at proper depth with trunk clearance, and a clean finish. Build your quote today and get your beds done right in one visit.